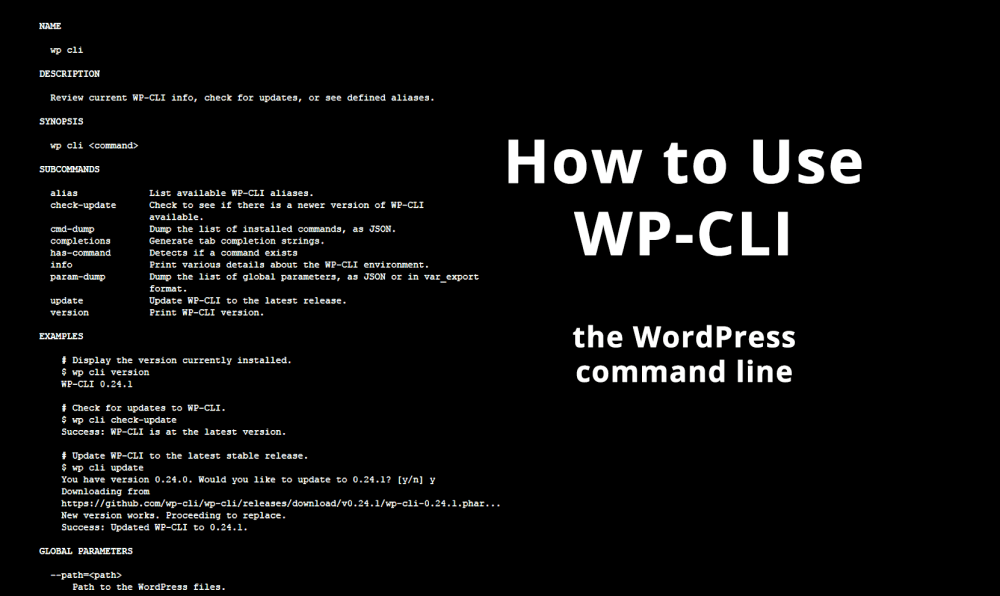
WP-CLI is the command-line interface for WordPress. Using text commands, WP-CLI can quickly perform many WordPress tasks that would take much longer via the WordPress dashboard. WP-CLI can install, activate, and deactivate plugins. It can modify plugin options, create databases, delete databases and so much more.
How is WP-CLI accessed?
To access WP-CLI, you will need the following:
1) Credentials for your web host’s Secure Shell (SSH) command line: username, password, and a port. Ask your host.
2) WP-CLI must be installed on your web server. Ask your host.
3) SSH client on your desktop. I use open-source PuTTY on my Windows desktop. Macs have a built-in SSH client called Terminal, as well as a version of Putty.
Want to see WP-CLI in action? Watch me demonstrate how to use the WordPress command line to fix mixed content errors.
[thrive_2step id=’2681′] [/thrive_2step]
How to Use WP-CLI
1) Once you have logged into the command line on your web host, you must traverse to your WordPress directory (the folder that has your wp-config.php file in it). On a Unix machine, this might look like this:
2) Now you are ready to issue WP-CLI commands. Here’s one to get you started. This command will check to see if you have the latest version of WP-CLI installed.
WP-CLI commands are always in the following format:
Here’s another that will search and replace all HTTP versions of YouTube URLs with HTTPS versions.
And this one will install and activate the Google Authenticator plugin from the WordPress repository using the plugin’s slug “google-authenticator”:
For more on WP-CLI, grab the bonus video below, and take a look at the WP-CLI Quick Start Handbook.
[thrive_2step id=’2681′] [/thrive_2step]
